What are Github Actions
Github Actions are the automated CI/CD pipeline provided by Github out of the box. These are provided Free and can be configured using a YAML file present in the .github/workflows folder.
What are Github Pages
Github pages are static pages which are accessible over http predefined URLs. There are generally 2 variations of github pages
- User specific (https://<username>.github.io/)
- Project specific (https://<username>.github.io/<project name>)
A very interesting usecase of github pages is to host a blog (this blog being an example) through the combination of markdown files and static generators
Deploying User specific github pages
Generally the user specific pages are deployed in a project which follows the below convention:
The project name should be <username>.github.io The files should be deployed to the master branch

Deploying Project specific github pages
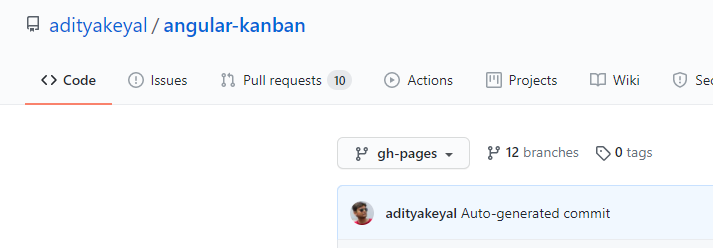
The files are deployed on a branch with the name gh-pages under the same project
Deploy a Blog as User Github Page
One interesting way to start a blog is to use “user specific github pages” as a blog. This generally consists of a combination of 2 things
- Blog content in the form of markdown pages (and images)
- A static site generator (coupled with a theme)
This can be visualized as below:
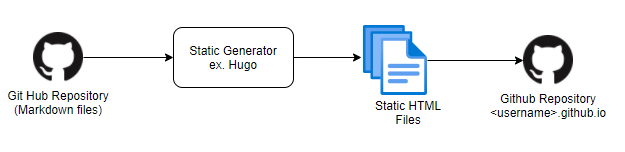
Note: While there are many site generators like Jekyll. I liked the simplicity of Hugo (especially the default option of themes hence I went with Hugo.)
More information on Hugo here
Structure
When using hugo , the default structure (in the most simple form) consists of the below structure
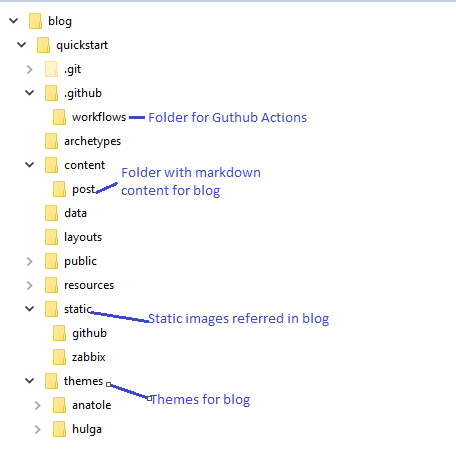 The primary folders of interest are listed below
| Folder | Description |
|---|---|
| content/posts | Consists of the text content in markdown format |
| static/* | Consists of images referred in the markdown |
| themese | These are different themes available for use (only 1 can be active) |
| workflows | The folder where Github Actions are maintained |
While the 1st 3 are self explanatory, anyone interested can refer to the below sites for more information
Github Actions
The most interesting piece of the puzzle is the usage of Github Actions to automate the entire blog. A normal workflow constists of the below
- Update mrkdown file
- Commit markdown and push to Github remote repository
- Github Action automatically builds static site and updates Github pages
This automation is achieved through the use of Github Actions
Github Action to deploy the blog
Deployment File
The first step is to create a YAML deployment file in the .github/workflows folder. This file tells github which all actions need to be invoked. A sample file is as below:
# This is a basic workflow to help you get started with Actions
name: CI

# Controls when the action will run.
on:
  # Triggers the workflow on push or pull request events but only for the main branch
  push:
    branches: [ main ]


# A workflow run is made up of one or more jobs that can run sequentially or in parallel
jobs:
  # This workflow contains a single job called "build"
  build:
    # The type of runner that the job will run on
    runs-on: ubuntu-18.04
    # Steps represent a sequence of tasks that will be executed as part of the job
    steps:
      - name: Git Checkout
        uses: actions/checkout@v2.3.4
        with:
          submodules: true
          fetch-depth: 0

      # Checks-out your repository under $GITHUB_WORKSPACE, so your job can access it
      - name: Setup Hugo
        uses: peaceiris/actions-hugo@v2.4.13
        with:
          hugo-version: '0.79.1'

      # Runs a single command using the runners shell
      - name: Build
        run: hugo --minify
      # Deploys the file to repository
      - name: Deploy
        uses: peaceiris/actions-gh-pages@v3.7.3
        with:
          external_repository: adityakeyal/adityakeyal.github.io
          personal_token: ${{secrets.SECRET_KEY}}
          publish_dir: ./public
          user_name: adityakeyal
          user_email: adi.keyal@gmail.com
          publish_branch: master
Setting up a Secret
One of the biggest challenges faced during this setup was to setup a secret key. By default github actions don’t have permission to check in any file. To checkin a file they need special permissions. This can be provided by the below process
Creating a Personal Access Token
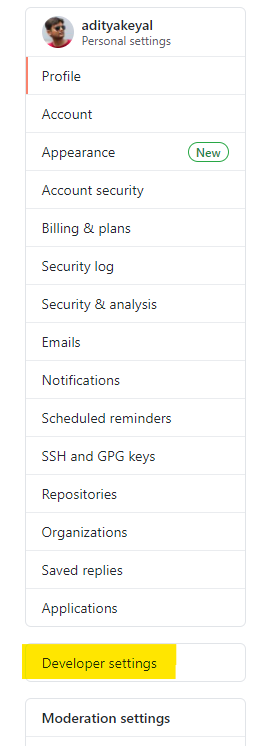
Step 1.
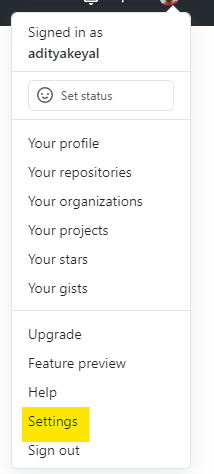
Step 2. Developer Settings
Step 3. Personal Access Token
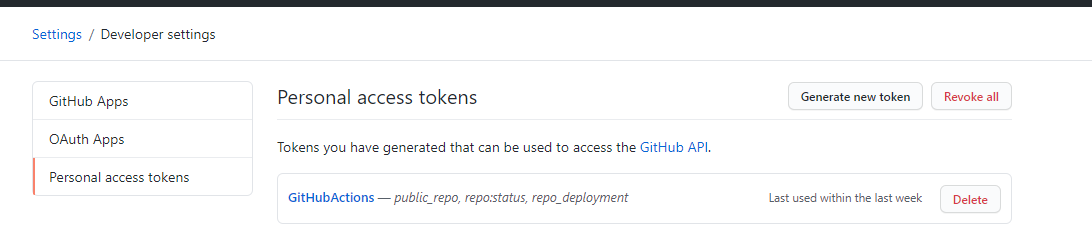
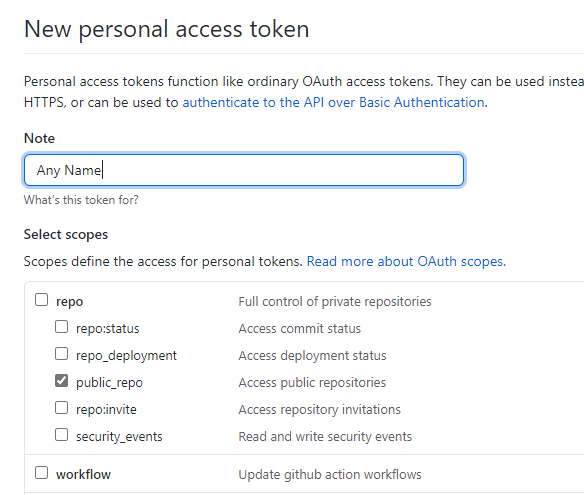
Step 4. Create a new Token
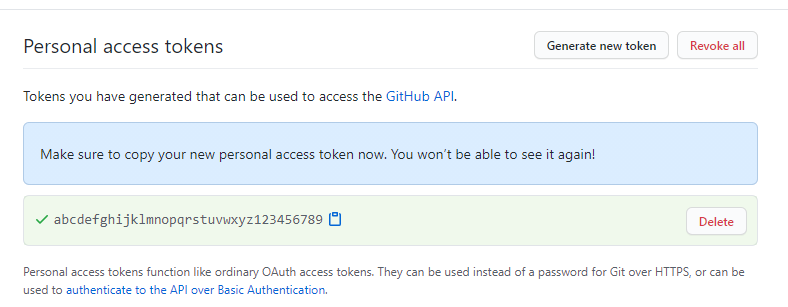
Step 5. Copy and save the token
Updating the token to the repository
Step 1. Create a new repository secret
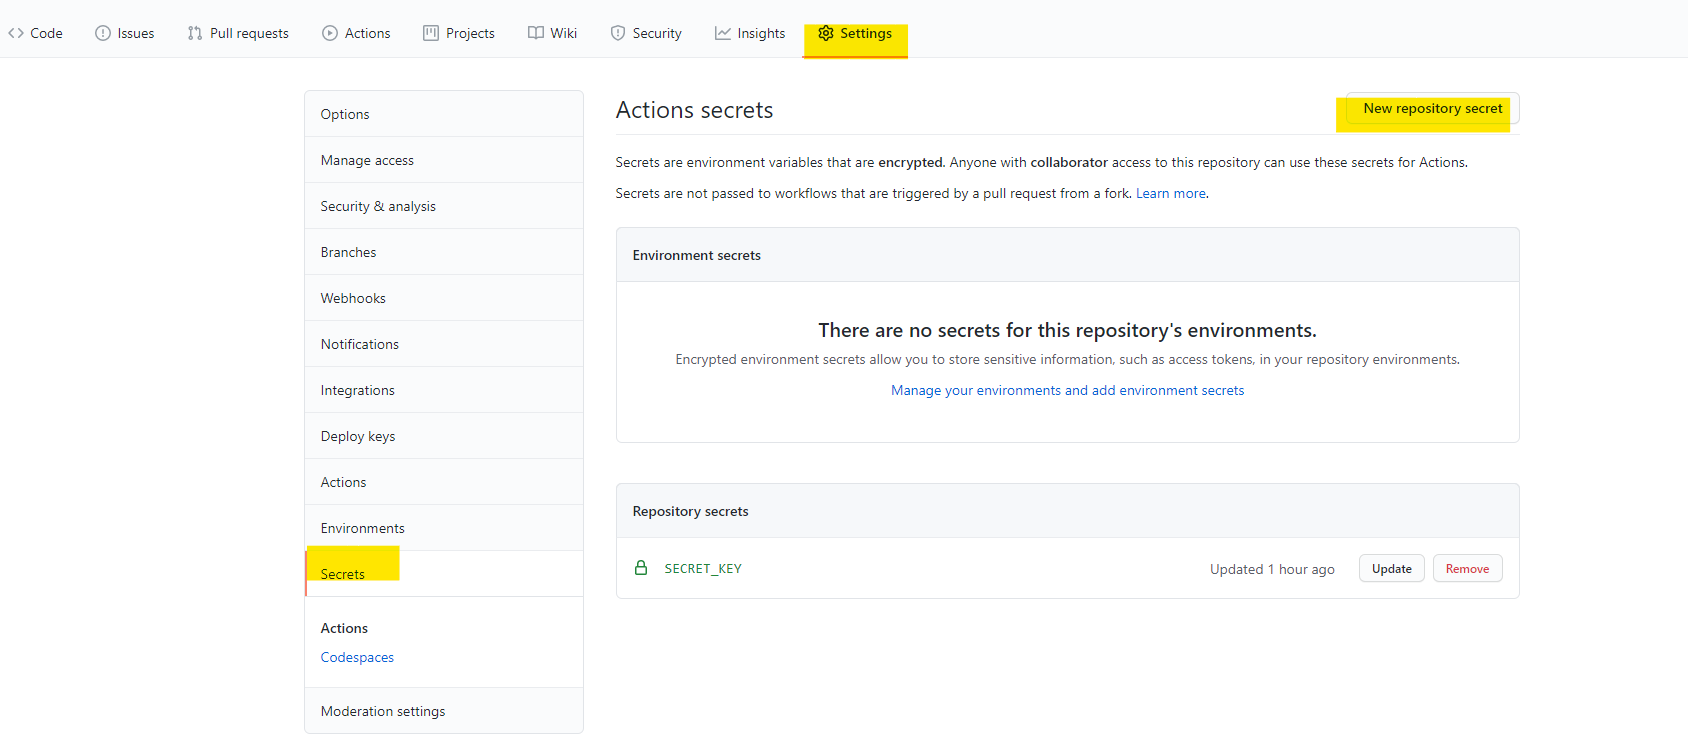
Step 2.
Use this token in the YAML file.
Note:
By default Github provides a readonly token called GITHUB_TOKEN which has acceess to the current repository. However since the pages are maintained in a separate repository we must create the Personal Access Token. And to protect any one from accessing the token, the token is saved as above.